Contents
Ever wanted to know your exact location on Earth? Or you wanted to know how fast you are moving? A GPS is what we need. But what if I want to determine all this using an Arduino? A GPS shield will then come in handy! Therefore, in this tutorial, we will be exploring on how do we interface an Arduino board with a GPS shield.
Overview
The GPS shield I’m using uses a ublox receiver module & has a SD slot that support micro-SD card interfacing, which would be very useful if I want to keep/ record down certain coordinates. The GPS shield is quite easy to use: you just have to attach the small antennae on the shield, then insert the shield on top of an Arduino Uno or Mega and use Arduino Serial Monitor to retrieve the coordinates of your location.
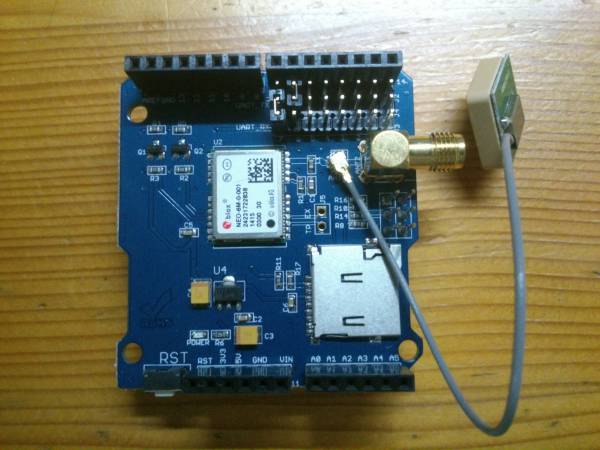
To test out this shield, I used the following code below to display the coordinates of my current location. This is the sample code from Elecrow Wiki:
//Computer is connected to Arduino
//SoftSerial Shield is connected to the Software UART:D2&D3

#include <SoftwareSerial.h>

SoftwareSerial SoftSerial(6, 7);
unsigned char buffer[256]; // buffer array for data recieve over serial port
int count=0;     // counter for buffer array
void setup()
{
  SoftSerial.begin(9600);               // the SoftSerial baud rate
  Serial.begin(9600);             // the Serial port of Arduino baud rate.

}

void loop()
{
  if (SoftSerial.available())              // if date is comming from softwareserial port ==> data is comming from SoftSerial shield
  {
    while(SoftSerial.available())          // reading data into char array
    {
      buffer[count++]=SoftSerial.read();     // writing data into array
      if(count == 256)break;
  }
    Serial.write(buffer,count);            // if no data transmission ends, write buffer to hardware serial port
    clearBufferArray();              // call clearBufferArray function to clear the storaged data from the array
    count = 0;                       // set counter of while loop to zero


  }
  if (Serial.available())            // if data is available on hardwareserial port ==> data is comming from PC or notebook
    SoftSerial.write(Serial.read());       // write it to the SoftSerial shield
}
void clearBufferArray()              // function to clear buffer array
{
  for (int i=0; i<count;i++)
    { buffer[i]=NULL;}                  // clear all index of array with command NULL
}
In line 4, we will import the software serial library. Why? The GPS shield has a UART, which is a hardware which supports serial communication that is used for serial communication with the satellites to get our location. And since arduino built-in serial support for serial communication (on pins 0 & 1) is used for arduino – computer communication, I need to use other digital pins for the GPS serial communication. This is where the Software Serial Library comes to the rescue.
Line 25 is where we will get the ouput/ values for my location as a series of standard strings of information, under something called the National Marine Electronics Association (NMEA) protocol. The output will contain the following information:
- $GPGGA: Global Positioning System Fix Data
- $GPGSV: GPS satellites in view
- $GPGSA: GPS DOP and active satellites
- $GPRMC: Recommended minimum specific GPS/Transit data
For more info on GPS on arduino, you can visit this page or here. There are many information that can be obtained from these series of trings, which includes your co-ordinate, the current UTC date & time, your current altitude, speed, and many more.
Following Elecrow’s tutorial, I found out that the serial output from the arduino can be parse by this software called u-center. (It’s actually their software [ublox], since they developed the GPS chip…) This is pretty handy in displaying all the details visually instantly (you won’t want to decode the location by yourself, right?) You can check out the software here: http://www.u-blox.com/en/evaluation-tools-a-software/u-center/u-center.html.
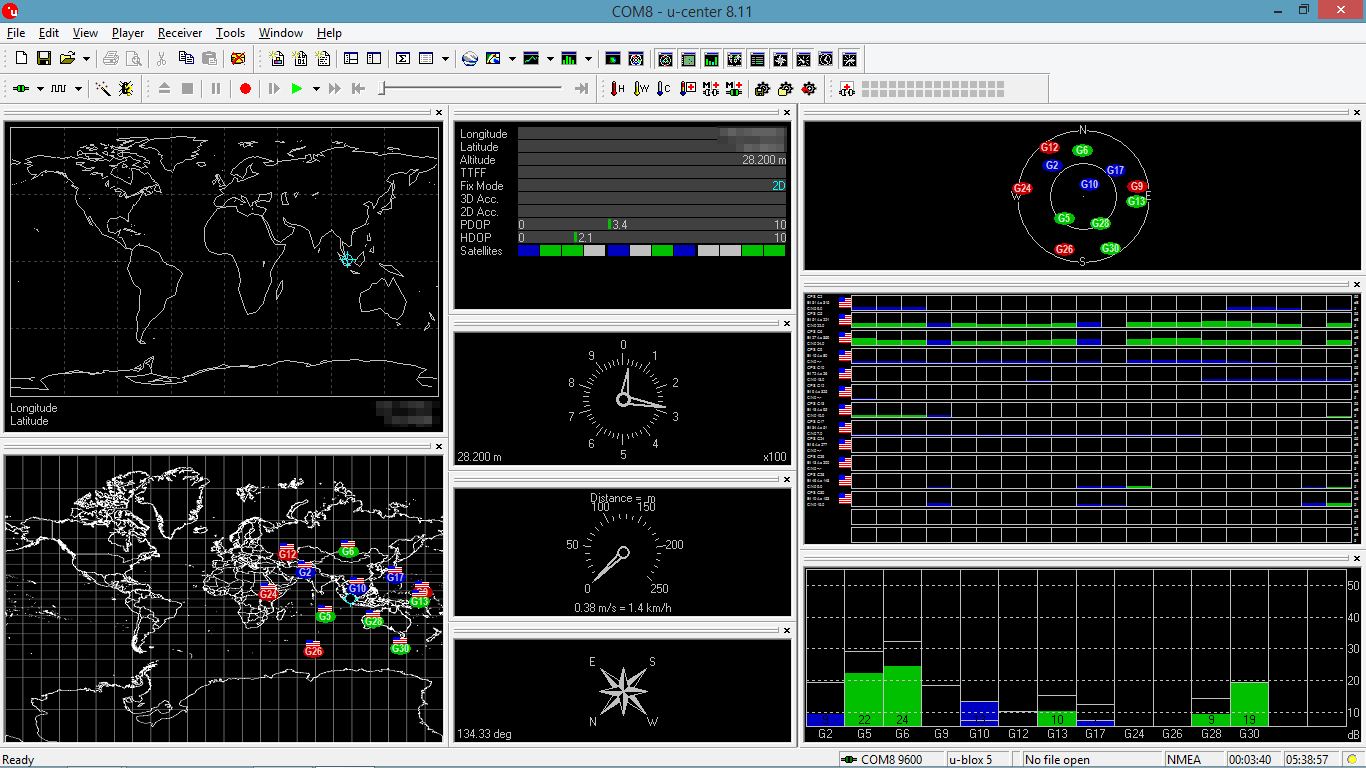
For the one above, the satellites are still trying to locate me & the location may not be accurate. (Notice the cyan locator on the world map). After a while (around 5 minutes), my location has been locked down as the locator icon has turn green. The coordinates of my location now should be more accurate.
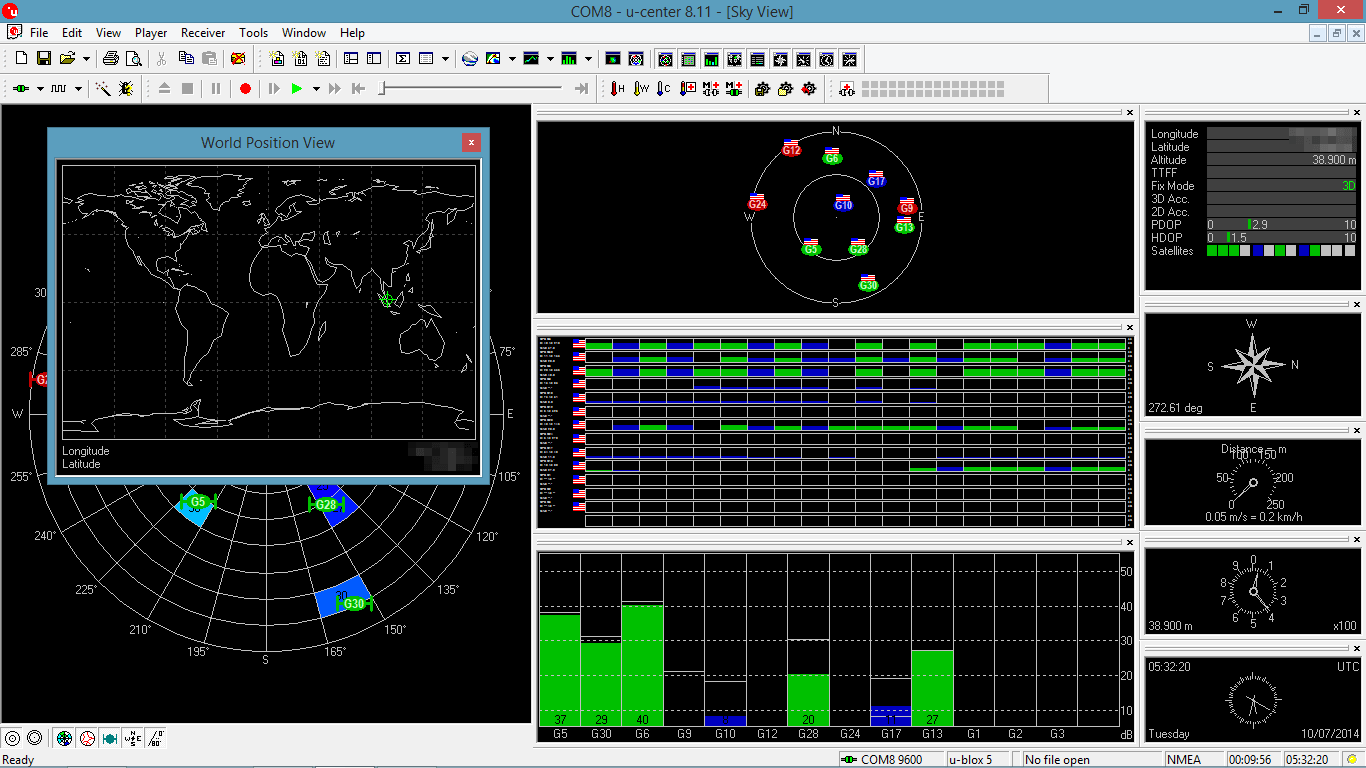
I noticed that some data was not displayed and some data (like the speed) were wrong. For example, I was not moving the GPS shield, but the software stated my speed as 0.38m/s. I’m not sure why…
After testing the GPS shield out, I decided to output some GPS data onto a LCD screen, so that I can create a small and portable “GPS device”. (It will be quite troublesome if I have to carry around my laptop with the wire connected to the Arduino, and people around will be giving me that weird look.) So, next up, we’ll be building a simple Arduino GPS device!
The “GPS” device
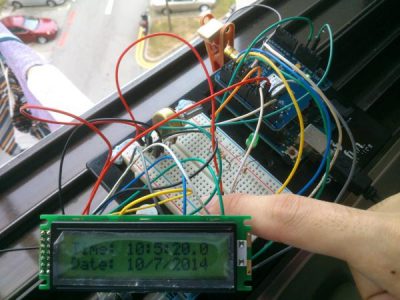
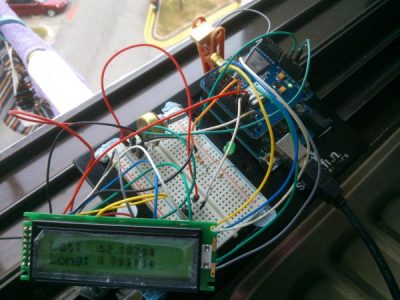
This is how GPS device will look like, which display the coordinates of the current location with an accuracy of up to 5 decimal places (in terms of longitude and latitude). Other than that, it will also tell you the current (UTC) date & time when you hole the button. For this device, I made use of the TinyGPS library instead of writing function to decode the long strings of information. This library will help decode & parse the long GPS information for you, so the code will not look so complex and will save your time. You can check out their library at their website:
http://arduiniana.org/libraries/tinygps/
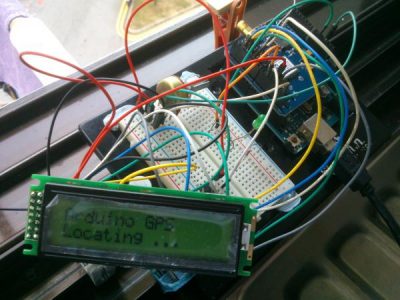
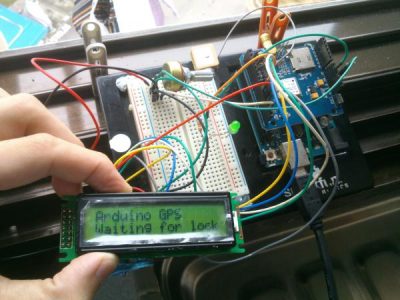
Here are more images of the device in action:
Parts used:
- LCD Screen x 1
- Potentiometer x 1 (For LCD Display)
- 330-Ohm Resistor x 1
- LED x 1
- Many Jumper Wires
Schematics
[Coming soon…]
Code
This is source code, which will display the current location coodinates. In addition, I have included a button to check date & time function when it is pressed:
#include <SoftwareSerial.h>
#include <LiquidCrystal.h>
#include <TinyGPS.h>

const int TxPin = 5; //LCD Display Setup
const int ledPin = 9;
const int btnPin = 10; // the number of the pushbutton pin

//GPS stuff
TinyGPS gps;
SoftwareSerial serialgps(6, 7);
int mode = HIGH; //Mode for GPS: LOW for location, HIGH for time

//LCD Stuff
// initialize the library with the numbers of the interface pins
LiquidCrystal lcd(12, 11, 5, 4, 3, 2);

//Button Stuff
int prevState=HIGH;

int year;
byte month, day, hour, minute, second, hundredths;
unsigned long chars;
unsigned short sentences, failed_checksum;
int initial = 0;

void setup() {
    Serial.begin(115200);
    serialgps.begin(9600);
    //LED
    pinMode(ledPin, OUTPUT);
    //Button
    pinMode(btnPin, INPUT);

    // set up the LCD's number of columns and rows:
    lcd.begin(16, 2);
    // Print a message to the LCD.
    lcd.print("Arduino GPS");
    lcd.setCursor(0, 1);
    lcd.print("Waiting for lock");      //Wait for satellite to lock onto GPS module
    delay(1500);

}

void loop() {
  //Mode toggling
  int currState = digitalRead(btnPin);
   if(currState != prevState)
   {
      // A transition occurred (from pressed to released or from released to pressed)
      if(mode == HIGH){
        mode = LOW;
        lcd.clear();
        //delay(1);
      }else{
        mode = HIGH;
       // delay(1);
        lcd.clear();
      }
   }
   prevState = currState;

    while (serialgps.available()) {
        digitalWrite(ledPin, HIGH);
        int c = serialgps.read();
        if (gps.encode(c)) {
            if (initial == 0) {
                lcd.clear();
                initial += 1;
            }
            float latitude, longitude;

            gps.f_get_position( & latitude, & longitude);
            Serial.print("Lat/Long: ");
            Serial.print(latitude, 5);
            Serial.print(", ");
            Serial.println(longitude, 5);

            gps.crack_datetime( & year, & month, & day, & hour, & minute, & second, & hundredths);

            if (mode == LOW) {
                lcd.setCursor(0, 0);
                lcd.print("Lat: ");
                lcd.print(latitude, 5);
                lcd.setCursor(0, 1);
                lcd.print("Long: ");
                lcd.print(longitude, 5);
            } else if (mode == HIGH) {
                lcd.setCursor(0, 0);
                lcd.print("Time: ");
                lcd.print(hour, DEC);
                lcd.print(":");
                lcd.print(minute, DEC);
                lcd.print(":");
                lcd.print(second, DEC);
                lcd.print(".");
                lcd.print(hundredths, DEC);
                lcd.setCursor(0, 1);
                lcd.print("Date: ");
                lcd.print(month, DEC);
                lcd.print("/");
                lcd.print(day, DEC);
                lcd.print("/");
                lcd.print(year);

            } else {
                lcd.setCursor(0, 0);
                lcd.print("Error...");
            }
            Serial.print("Date: ");
            Serial.print(month, DEC);
            Serial.print("/");
            Serial.print(day, DEC);
            Serial.print("/");
            Serial.print(year);
            Serial.print(" Time: ");
            Serial.print(hour, DEC);
            Serial.print(":");
            Serial.print(minute, DEC);
            Serial.print(":");
            Serial.print(second, DEC);
            Serial.print(".");
            Serial.println(hundredths, DEC);
            Serial.print("Altitude (meters): ");
            Serial.println(gps.f_altitude());
            Serial.print("Course (degrees): ");
            Serial.println(gps.f_course());
            Serial.print("Speed(kmph): ");
            Serial.println(gps.f_speed_kmph());
            Serial.print("Satellites: ");
            Serial.println(gps.satellites());
            Serial.println();


            gps.stats( & chars, & sentences, & failed_checksum);

        }
    }
    digitalWrite(ledPin, LOW);

}


