Contents
Every once in a while, we will remove unnecessary or unused packages that is in our computer. But sometimes, we forget to checkout whether other packages will be removed, which may be required by some packages. With that, you unintentionally remove some packages that is required by your GUI (xorg, GNOME, etc). And there goes your Desktop GUI. Oops. Therefore, in this tutorial, we will attempt to restore the GNOME desktop in Ubuntu 14.04 through recovery mode.

Symptoms
When you boot into Ubuntu, you will first see the loading screen with a GNOME logo. Here are a few possible outcomes…
- The loading screen will remain there indefinitely. (Bootloop?)
- The loading screen will stop loading & will freeze.
- The screen goes blank.
- The screen goes blank with only a blinking cursor.
… and you don’t see the login screen at all.
Possible Solution
Estimated time required: 15m – 1h++
We will be going into recovery mode to attempt restoring the GNOME Desktop. Here are the following requirements:
- Internet – Ethernet cable (connected to your router)
- (For Laptops) Power supply – In case your laptop battery dies before all the steps can be followed.
- Time – It may be time consuming depending on your internet speed or computer speed.
With that, let’s begin!
Entering recovery mode
Enter the GRUB boot menu by hitting the device selection hotkey (usually F9 or F12, should be written during boot)
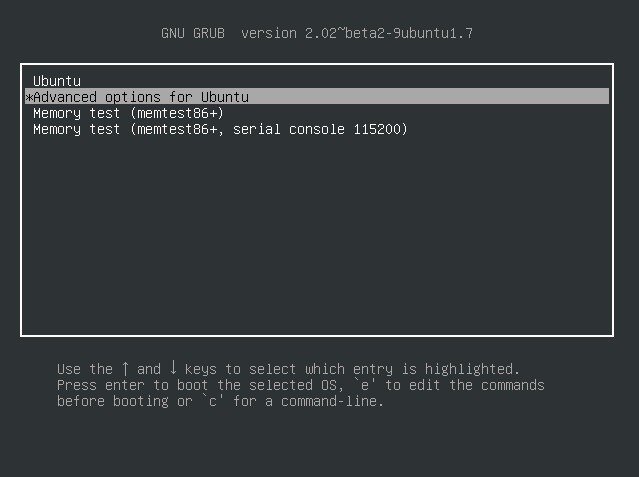
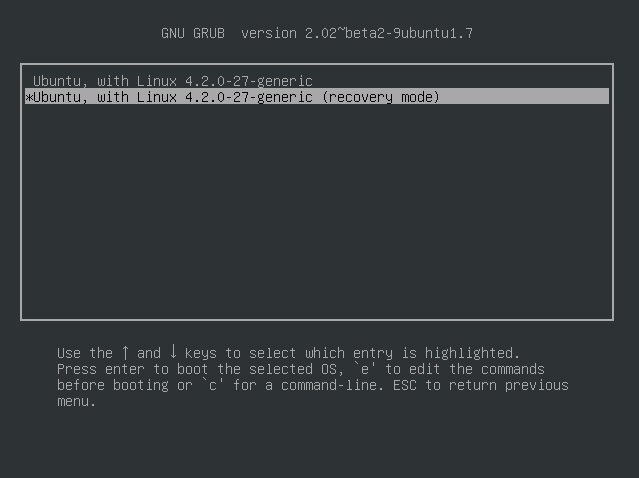
Select the option that says Advance options for Ubuntu (using your keyboard arrows) and hit enter. After that, select the option that has recovery mode option.
Enabling Networking
We will need to enable networking so as to connect to the internet to download the necessary packages.

Updating repository
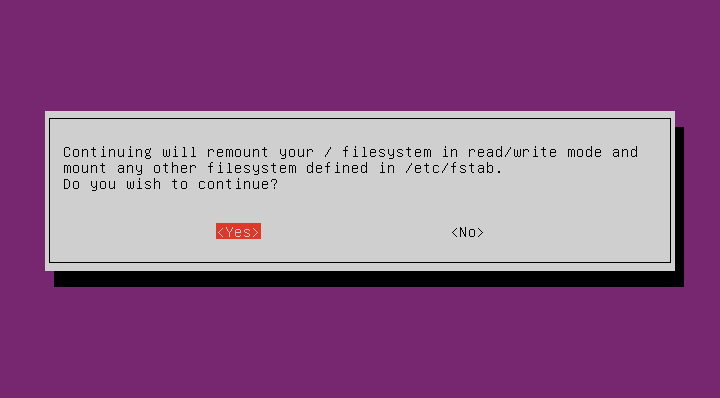
We will drop into root shell so that we will be able to update the repository & perform necessary upgrades if there are any. Use the arrow & select the root option.
Type the following to update the repository:
# apt-get update
After the repository has been updated, we will update the packages:
# apt-get upgrade
Installing the packages
After all the update of the repositories & package (if any) is done, we will try installing the following packages below. If the packages exists, we will proceed to installing the next.
- xserver-xorg-core
- xorg openbox
- gnome-shell
- ubuntu-gnome-desktop
These packages are installed using the apt-get command.
# apt-get install xserver-xorg-core
# apt-get install xorg openbox
# apt-get install gnome-shell
# apt-get install ubuntu-gnome-desktop
After all the packages have been installed, reboot your computer.
# reboot
If everything goes according to plan, you should be able to see the login screen after the reboot.
What if nothing change? (Still a blank screen)
If that’s the case, you can try installing other packages that are related to gnome. Below are a few more possible relevant packages you can try installing, though the list is not exhaustive.
- fxlrg
- xserver-xorg
- xorg
But if all else fails, the only option left is to reinstall the OS using a live USB or disc.