
Contents
Let’s use a RTC module to have more precise timing! With a RTC module, it is possible to perform accurate time tracking to keep track of the current year, month, day and time. This module is particular useful in data logging projects or projects that require accurate time tracking. In this tutorial, we would be using the I2C Tiny RTC module.
Updated RTClib URL
Overview
What is a RTC?
RTC stands for “Real Time Clock”. What does it do? Well, it helps to keep track of the current time with high accuracy even though when a device is turned off (since it has an external power source). RTC can be found in many electronics, which includes our computer, smartphones, etc. RTC keeps track of timiing using a crystal oscillator, which is typically clocked at 32.768 kHz.
Advantages of a RTC includes:
- Configurable
- Low Power consumption (Uses external power, such as lithium battery)
- More accurate timing
Parts
- Arduino Uno x 1
- Jumper Wires
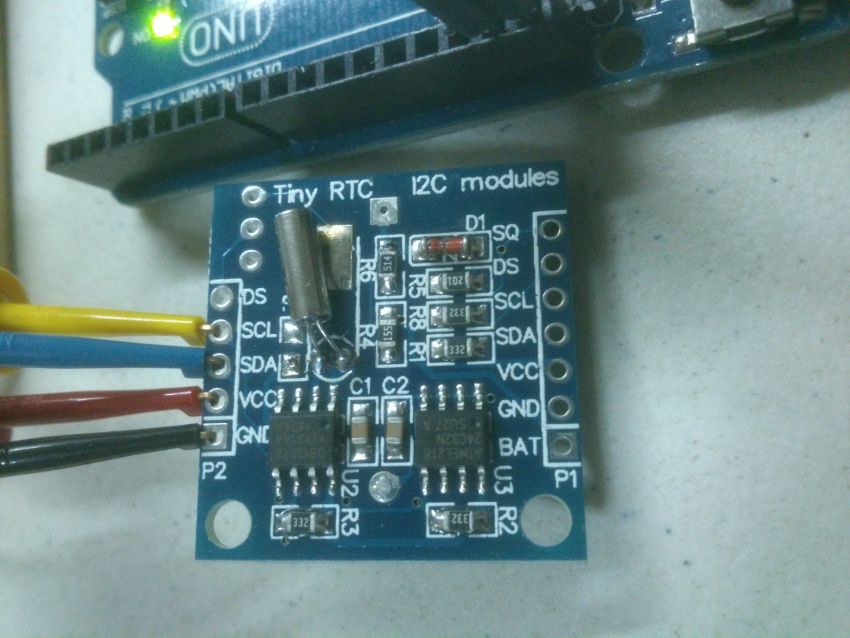
- I2C Tiny RTC module x 1
- I2C 2×16 Serial LCD Display x 1
Circuit hookup

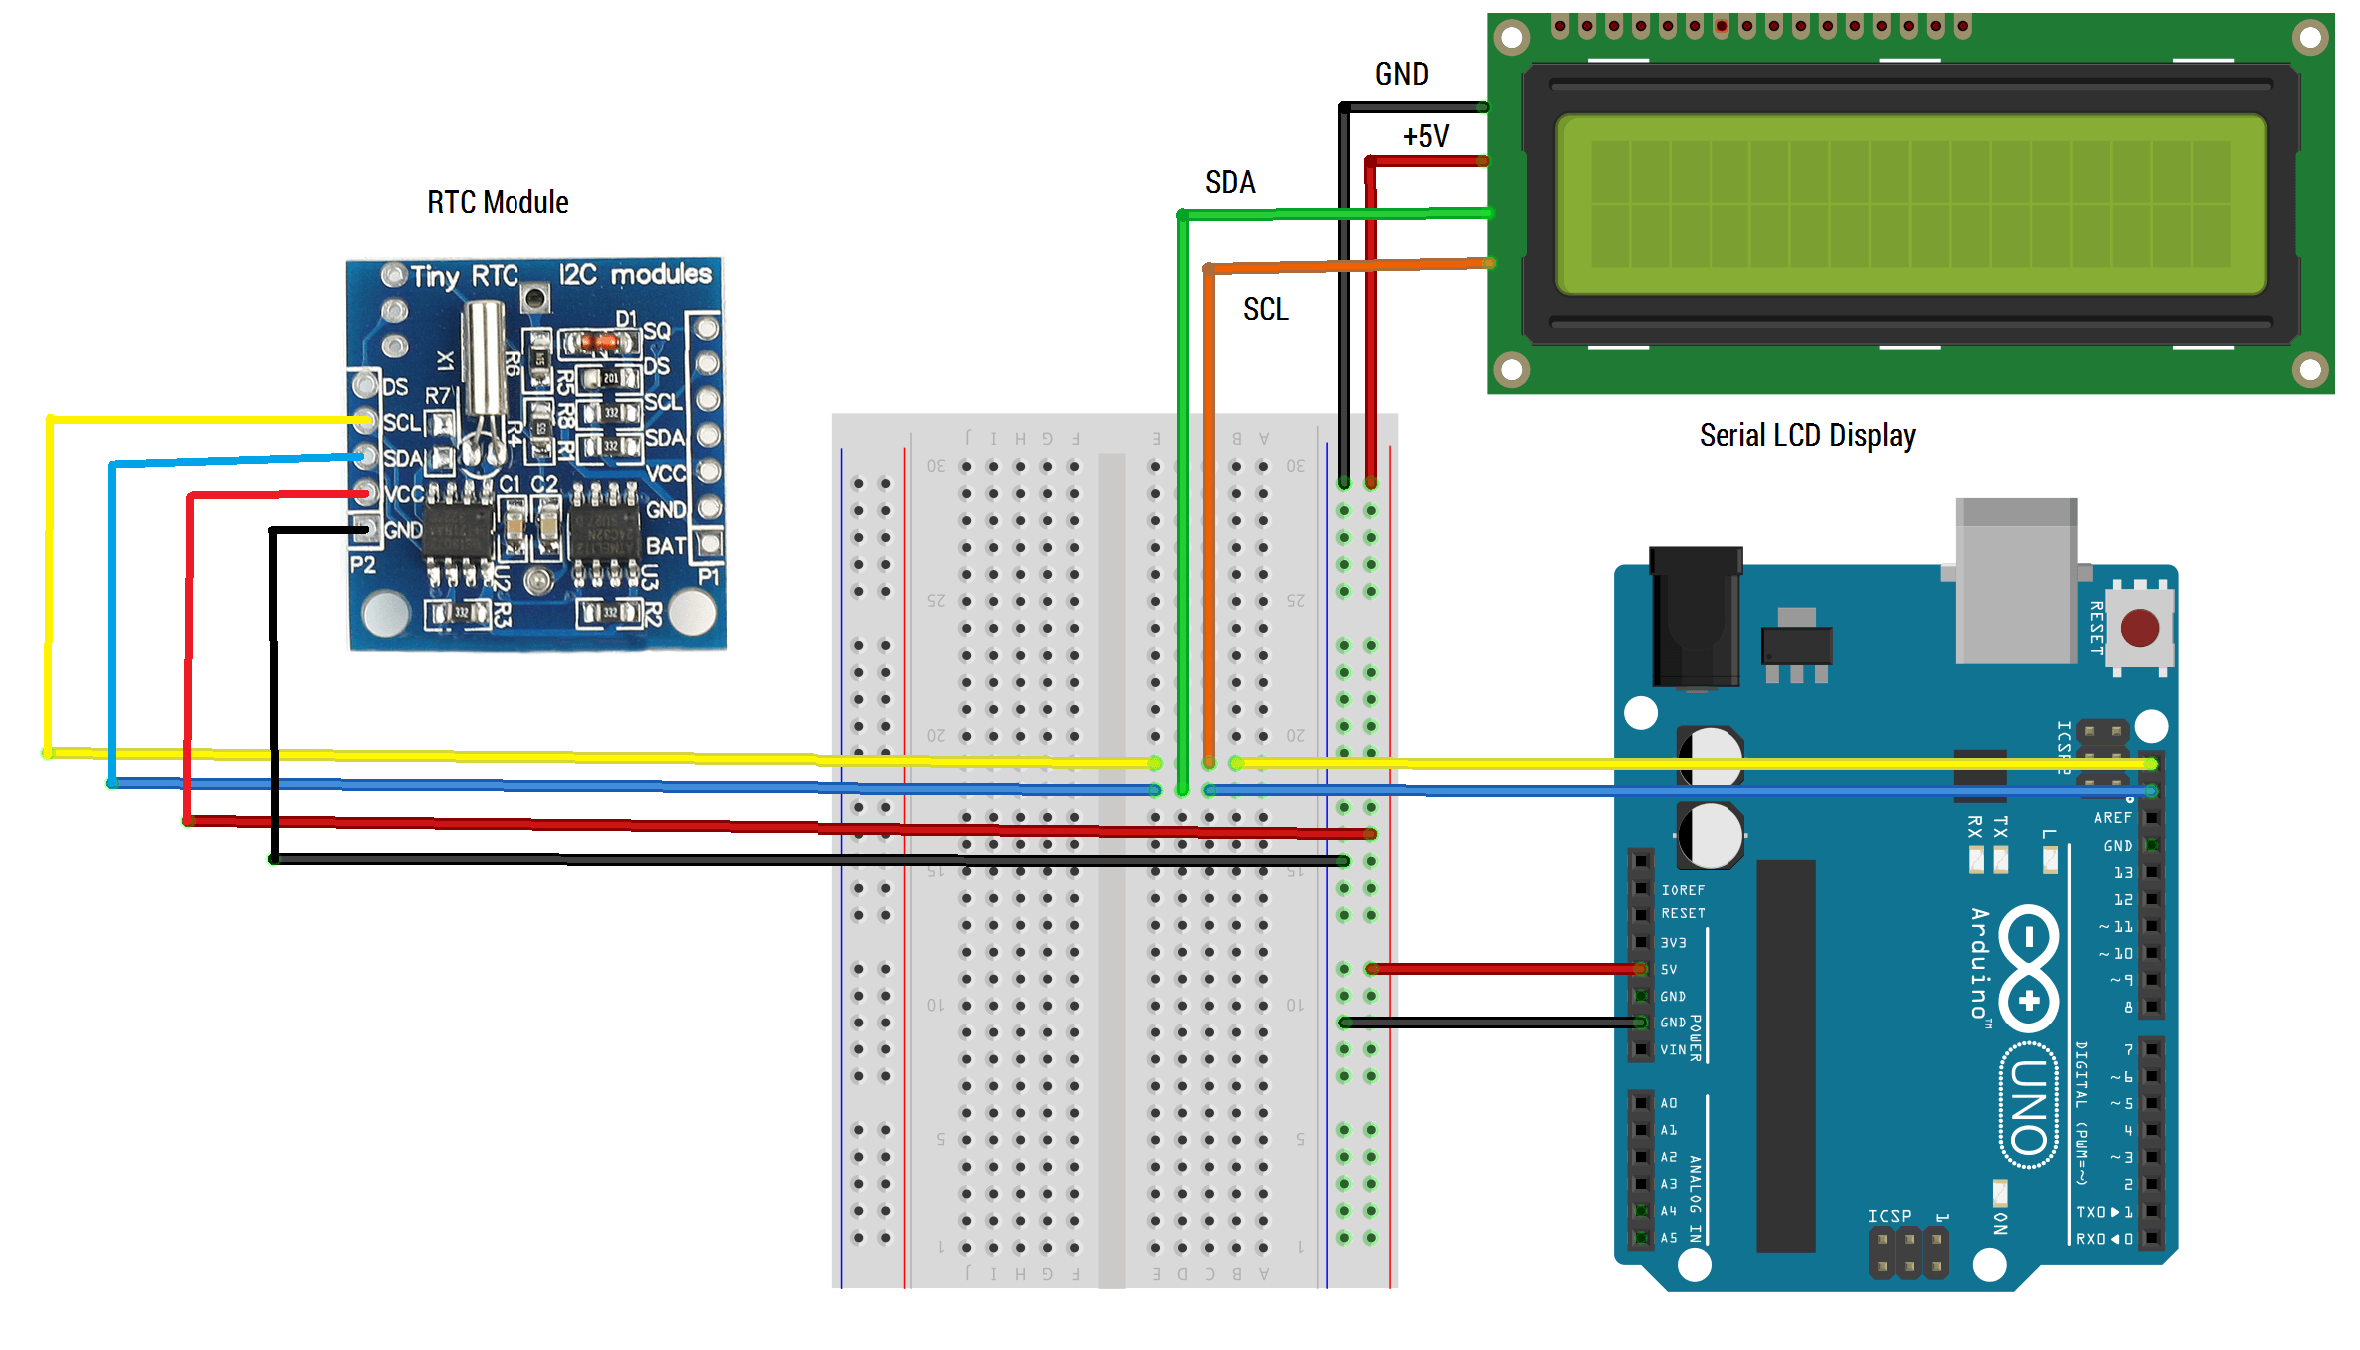
Since both the LCD Display and the RTC module uses the I2C protocol, we could hook them up to the same SCL and SDA port on the arduino, hence only 2 ports will be used for communication between the 2 devices. Both devices will be powered at 5V. Below is a clearer view of the hookup of this circuit:
Libraries
The libraries above required will simplify the coding of the RTC and Serial LCD display.
Code
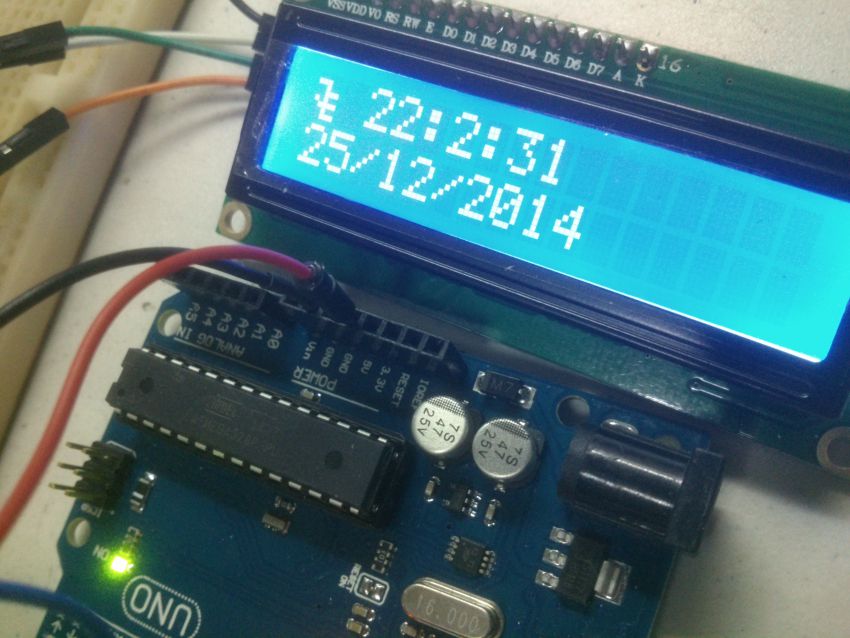
When you are using the RTC module for the 1st time, please uncomment the RTC.adjust() line as we have to set the current time and date of the RTC. If not, just upload the code as shown below. When the program has finished uploading, the Serial LCD display should be displaying the time (with a clock icon beside it) and the date.
//RTC library link: https://github.com/jcw/rtclib
//LCD I2C library link: http://www.dfrobot.com/wiki/index.php/I2C/TWI_LCD1602_Module_(Gadgeteer_Compatible)_(SKU:_DFR0063)

#include <Wire.h>
#include <LiquidCrystal_I2C.h>
#include <RTClib.h>

#if defined(ARDUINO) && ARDUINO >= 100
#define printByte(args)  write(args);
#else
#define printByte(args)  print(args,BYTE);
#endif

uint8_t clock[8] = {0x0,0xe,0x15,0x17,0x11,0xe,0x0};


RTC_DS1307 RTC;
LiquidCrystal_I2C lcd(0x27,16,2);  // set the LCD address to 0x27 for a 16 chars and 2 line display

void setup()
{
  lcd.init();                      // initialize the lcd
  // Print a message to the LCD.
  lcd.backlight();
  lcd.print("Initialising...");
    lcd.createChar(2, clock);
  Wire.begin();
   RTC.begin();

   // following line sets the RTC to the date & time this sketch was compiled
    //RTC.adjust(DateTime(__DATE__, __TIME__));
}

void loop()
{
  lcd.clear();
   DateTime now = RTC.now();
   lcd.printByte(2);
   lcd.print(" ");
  lcd.print(now.hour(), DEC);
    lcd.print(':');
    lcd.print(now.minute(), DEC);
    lcd.print(':');
    lcd.print(now.second(), DEC);
   lcd.setCursor(0, 1);
   lcd.print(now.day(), DEC);
    lcd.print('/');
    lcd.print(now.month(), DEC);
    lcd.print('/');
    lcd.print(now.year(), DEC);
    lcd.print(' ');
  delay(1000);
}


Absolutely excellent howto.
how we set date and time
Hi Saddique,
The date & time could be set via the
RTC.adjust(year,month,day,hour, minute, seconds)function, where the hour is in 24hr format.For example, if the date to be set is 6.17pm, 28 March 2020, the code would be:
RTC.adjust(2020,3,28,18,17,0);Hope this helps.