Contents
This is a simple light intensity indicator using a photo-resistor and 3 LEDs. It indicates the amount of light available around the photo-resistor with a range of 3 LEDs. Arduino UNO board will be used in this tutorial.
Overview
Firstly, we’ll get the reading of the photoresistor through analogRead(), and then store this reading as lightVal. Next, we map this reading from the photoresistor’s lowest & highest reading (which is 6 & 679 for my case) to 0 – 30. This is to shorten the range of value the arduino would be processing.
Next, I would divide the value of lightVal by 10 to make the value have a range of 0 – 3. This makes it easier for lighting up the specify number of the LEDs, as I would be lighting up the LED according to the value of lightVal.
Demo
Parts
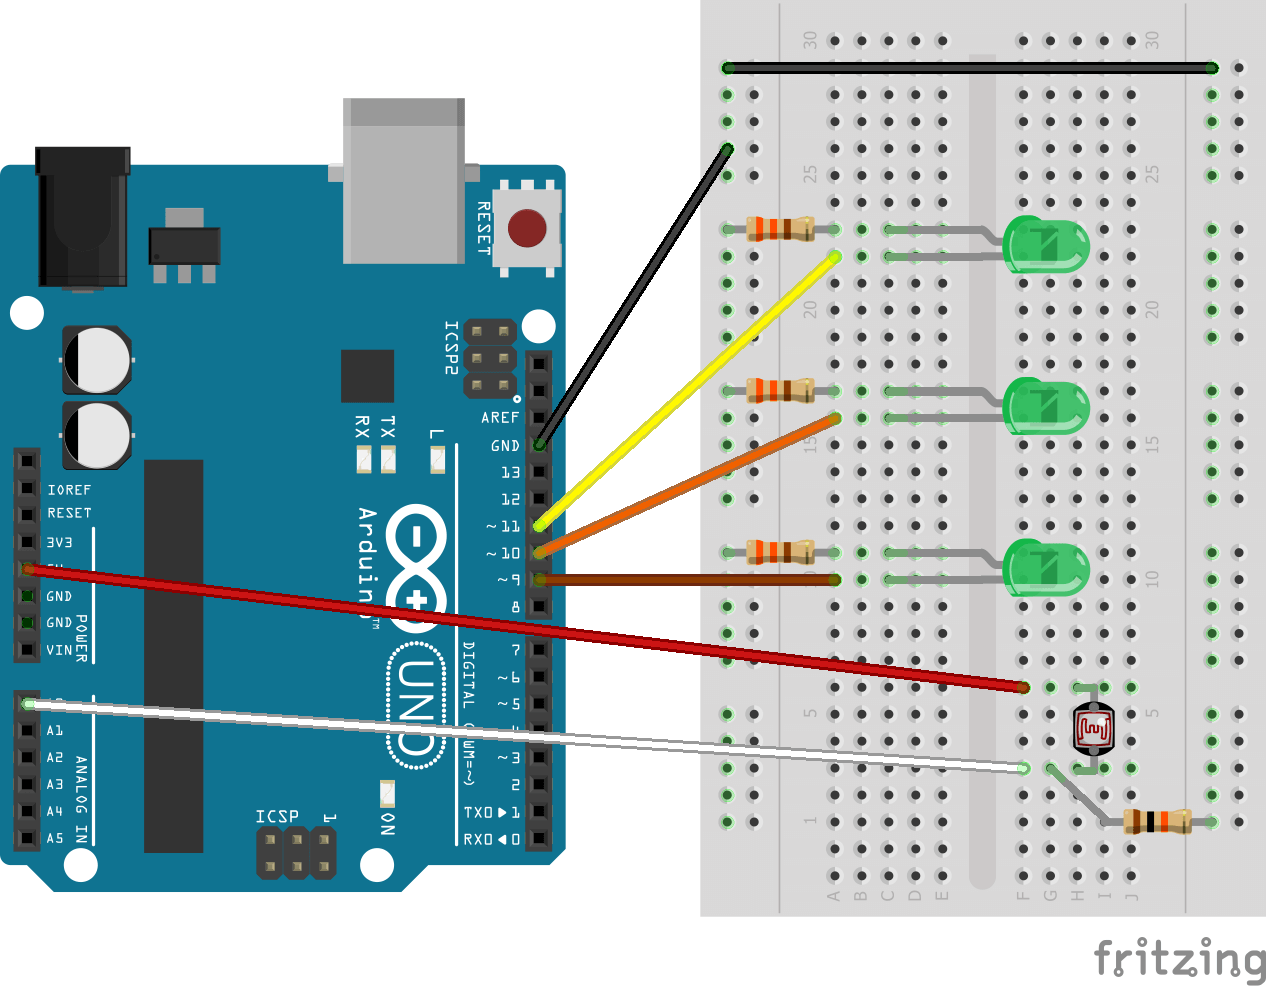
- Arduino Uno x 1
- 330Ω Resistors x 3
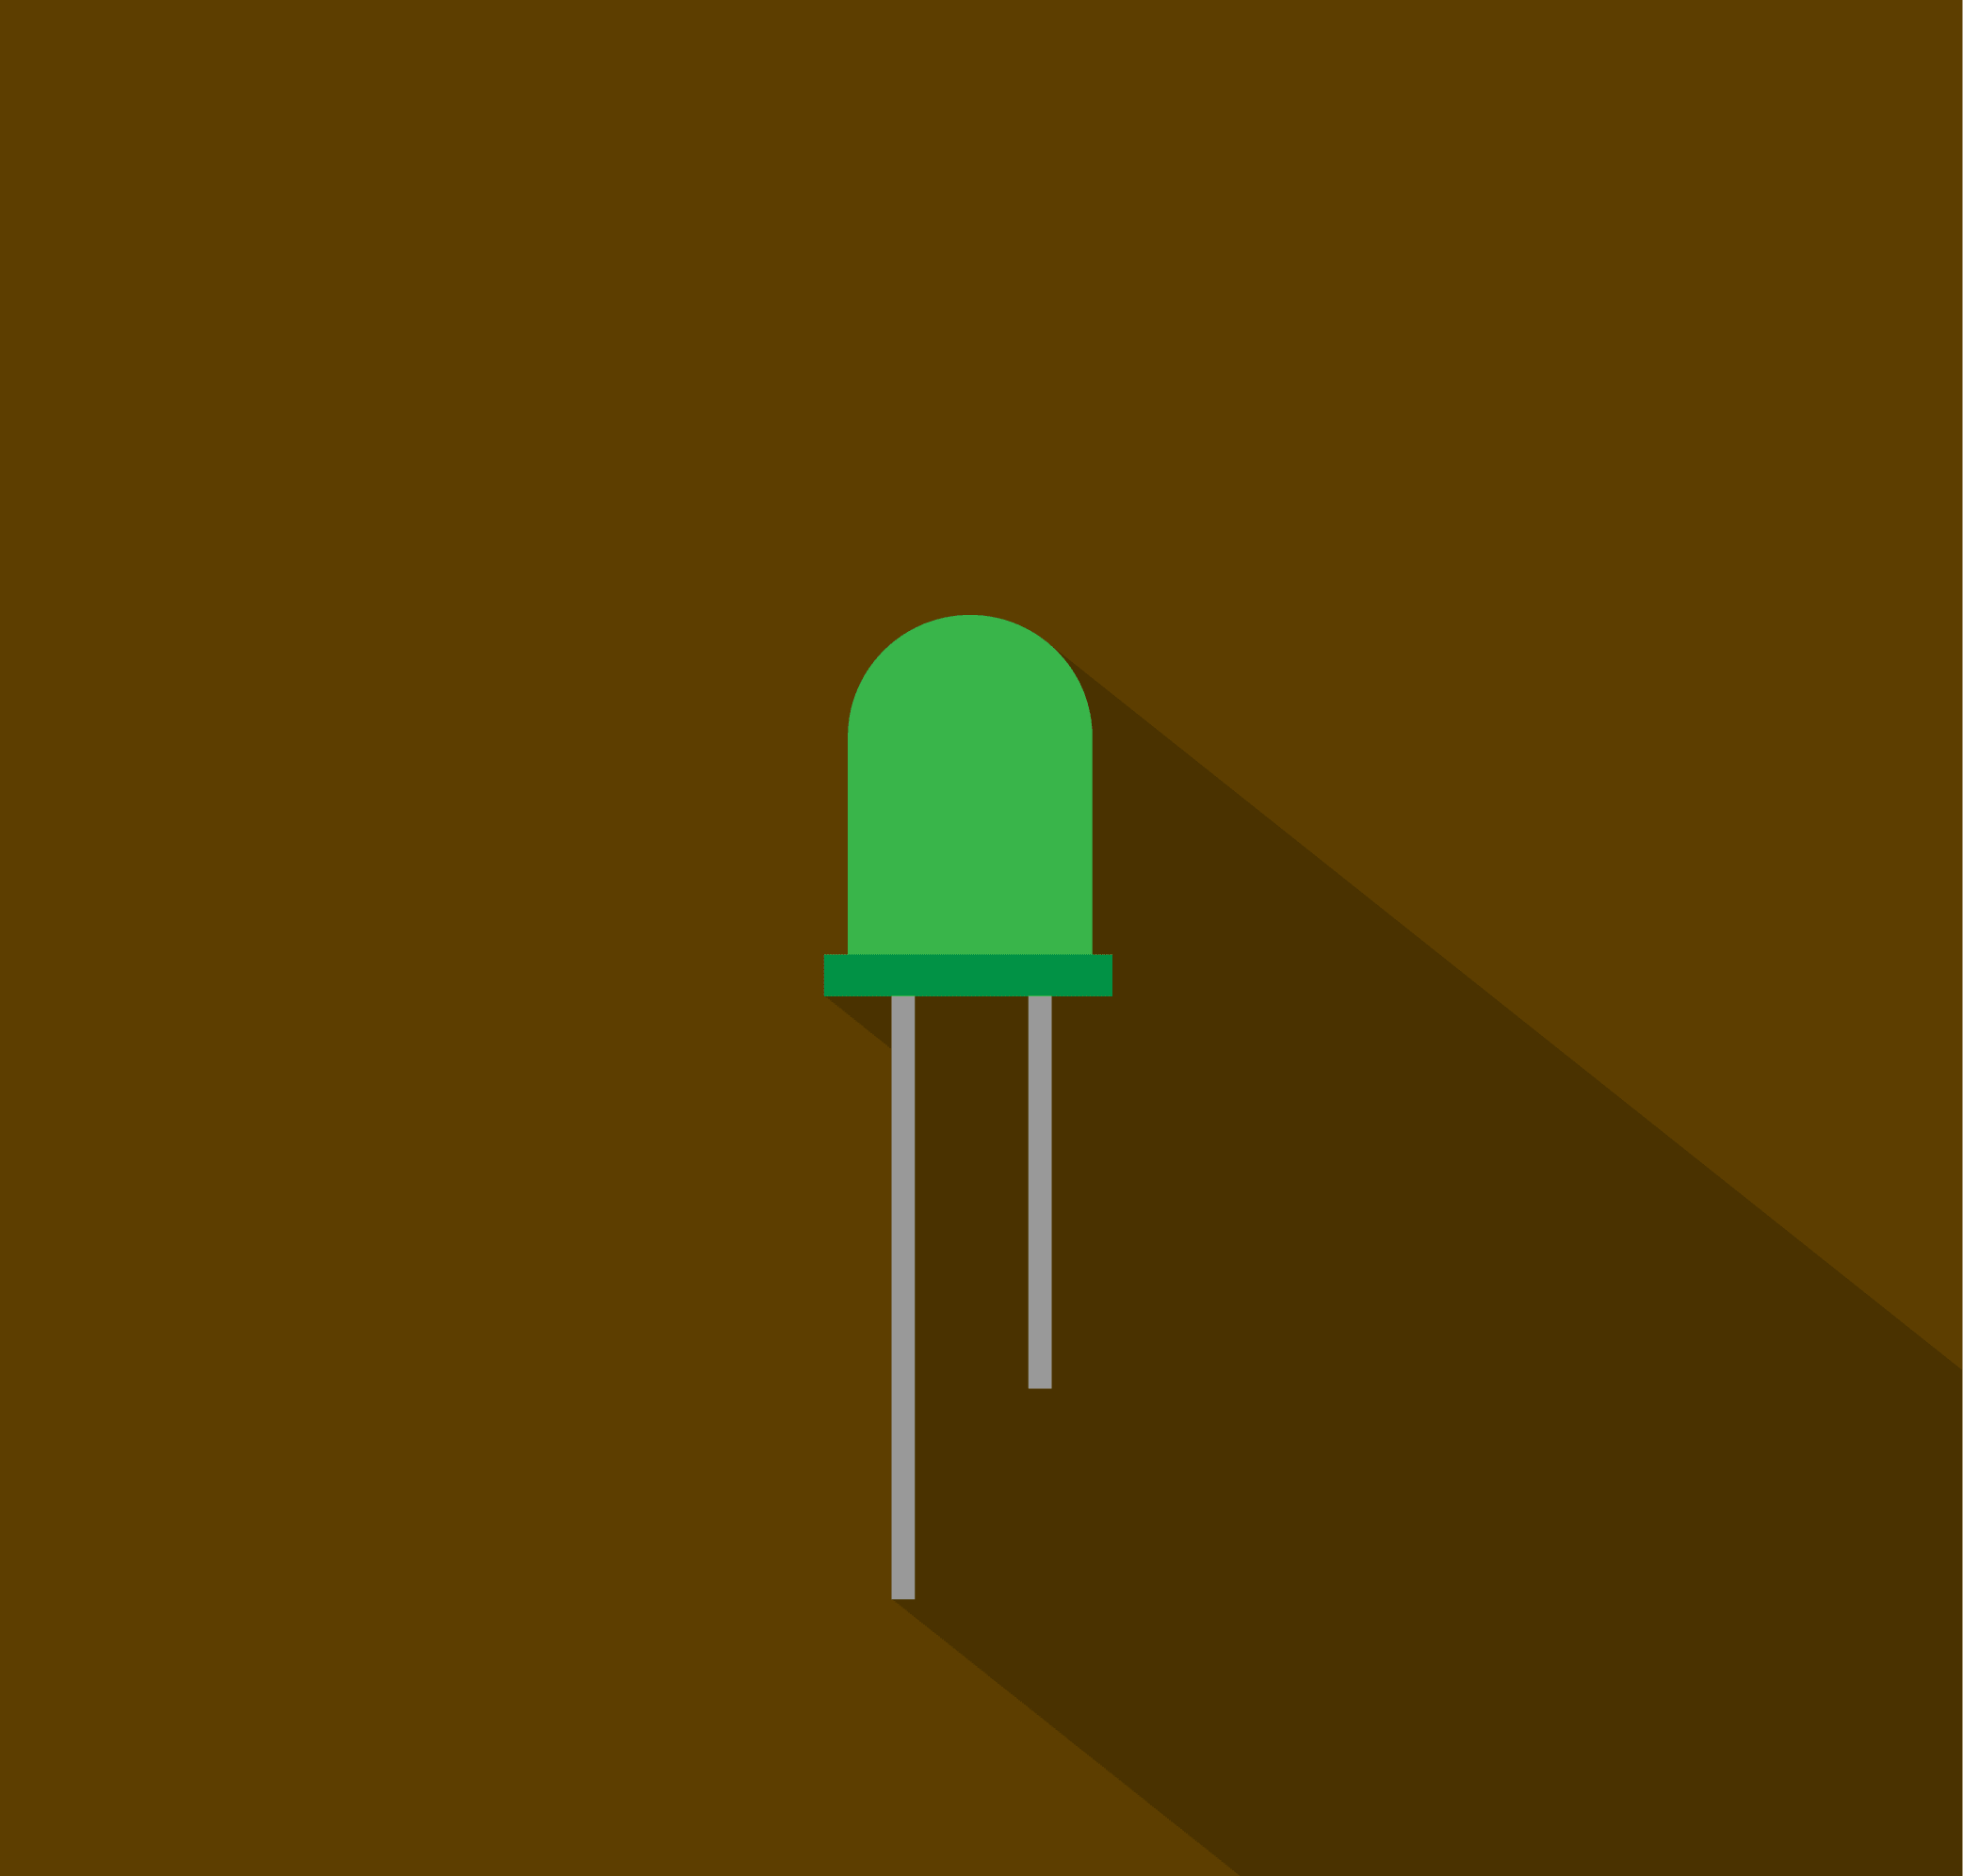
- Green LEDs x 3
- 10kΩ Resistor x 1
- Photo-resistor/LDR x 1
- Jumper wires
Schematics
Code
int lightVal = 0;
int lightPin = 0; //Light sensor pin
int ledPins[] = {9,10,11};

void setup(){
  for(int i =0;i<3;i++){
    pinMode(ledPins[i],OUTPUT);
  }
  Serial.begin(9600);
}

void loop(){
  lightVal = analogRead(lightPin);
  Serial.println(lightVal);
  lightVal = map(lightVal, 6, 679, 0, 30);
  Serial.println(lightVal);
  lightVal /= 10;
  Serial.println(lightVal);
  for(int i =0;i<lightVal;i++){
    digitalWrite(ledPins[i],HIGH);
    delay(100);
     digitalWrite(ledPins[i],LOW);
    delay(1);
  }
}