
Contents
This is a short guide on how to configure Virtual Network Computing (VNC) in Linux.
Introduction
What is VNC? An acronym for Virtual Network Computing, VNC is a graphical desktop sharing system that uses Remote Frame Buffer Protocol (RFBP) to remotely control another computer using your keyboard & mouse over a network. As VNC is cross-platform, one is able to remotely control computers of different platform using VNC clients and servers. (E.g. Windows, Mac, Linux, etc.) Other than that, multiple VNC clients is able to connect to a VNC Server.
We will be using a 64-bit version of Ubuntu 14.04 (Trusty) in this guide. Other than that, please ensure that you have 2 separate computer system (either physical or virtual) and you have an active internet connection to the download the various packages that will be mentioned in this guide. Before doing so, update your package list from the repository first.
$ sudo apt-get update
After updating, you are ready to proceed on to setting up the VNC.
Setting Up
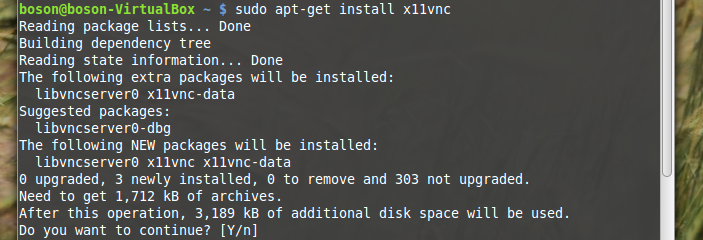
Install x11vnc on both the server computer and client computer.
$ sudo apt-get install x11vnc
Server
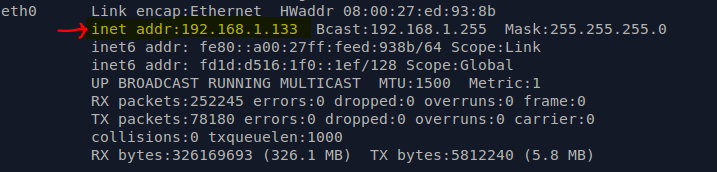
For the computer used as the server, run ifconfig to get the IP address of it (Located at the eth0 part).
$ ifconfig
After that, run x11vnc to start the VNC server.
$ x11vnc
Client
We’ll using ssh tunneling to connect to the server, where we transfer unencrypted traffic over a network through an encrypted channel (in our case, ssh).
To do so, run:
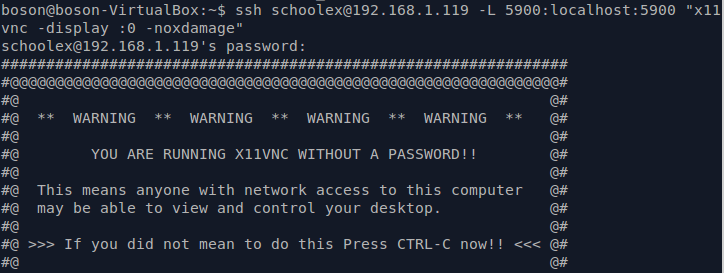
$ ssh user@host -L 5900:localhost:5900 "x11vnc -display :0 -noxdamage"
changing user@host to your server’s username & IP address (hostname). For example, if the user is atom & host is at 192.168.1.2, we will enter it as this:
$ ssh [email protected] -L 5900:localhost:5900 "x11vnc -display :0 -noxdamage"
If everything goes to plan, the terminal will prompt you for the user password and the connection with the remote computer will be established.
After the VNC connection has been established, we would need a viewer to view the remote desktop. There are a few VNC Viewer (clients) that are available, but in this guide, we will be at only 2 type: VNC Viewer and TightVNC. Since we are doing ssh tunelling, we would be connecting the VNC viewer to localhost:5900 instead of directly to the server’s IP address.
VNC Viewer
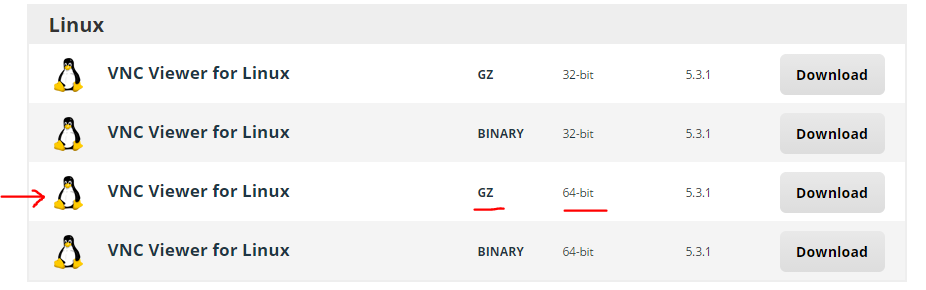
We will be using the free version of the VNC Viewer (v5.3.1) in this guide. Since it’s free, some functions like file transfer have been disabled.
Go to https://www.realvnc.com/download/viewer/ & download the 64bit VNC Viewer for Linux, gz format.
After that, extract the program & open the terminal (the directory the program is in).
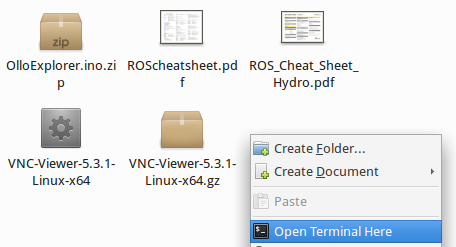
Before we can execute the program, we have to modify the program’s permission by setting it to be executable. (If not, you will be denied from running the program!)
$ chmod +x VNC-Viewer-5.3.1-Linux-x64
After setting it executable, we will run the program.
$ ./VNC-Viewer-5.3.1-Linux-x64
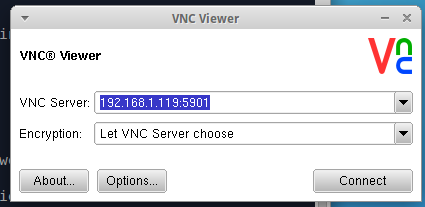
After accepting the Terms & Conditions, the VNC Viewer will be displayed. Enter the hostname:port accordingly & click connect. (In our case, localhost:5900, since we are using ssh tunneling) A window of your VNC Server will appear & you be able to control your other computer.
Tight VNC (TightVNC)
This is an alternative client to the VNC Viewer, but it uses Java instead.
Checking for Java
Since tightvnc is a java application, we have to ensure that Java is installed in your system. To check whether Java is installed, run the following command:
$ java -version
If Java is installed, the current version will be displayed. Skip to the Download section.

If it returns “The program java can be found in the following packages“, Java is not installed. To do so, execute the following command:
$ sudo apt-get install default-jre
This will install the Java Runtime Environment (JRE). To check it is properly installed, rerun the first command.
Download
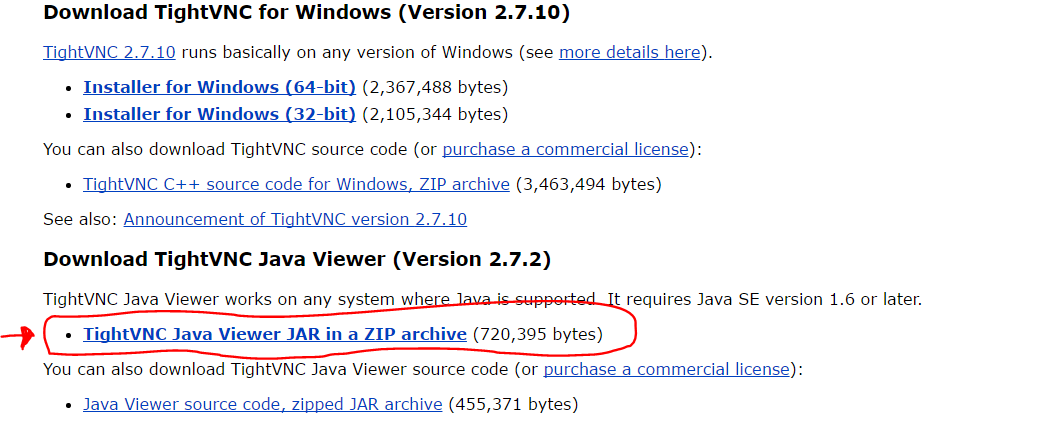
Download the TightVNC Java Viewer zip file from their website at http://www.tightvnc.com/download.php. The latest version of it is 2.7.2 at this point of writing.
After downloading, extract the zip file and enter into the extracted directory. Open the terminal in this directory. (Or you can open the terminal & cd into the extracted directory)
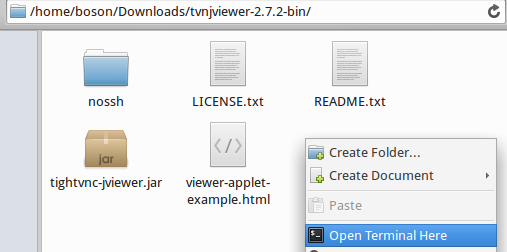
To run the viewer, enter in the following manner:
$ java -jar tightvnc-jviewer.jar -port=port host
where port is your port number (e.g. 5900) and host is your server’s IP address (e.g. 192.168.1.2). In our case, it should look like this:
$ java -jar tightvnc-jviewer.jar -port=5900 localhost
or
$ java -jar tightvnc-jviewer.jar -port=5900 127.0.0.1
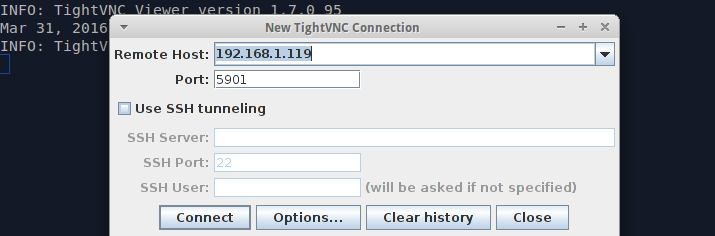
After hitting enter, a window will appear. Double check the host & port number and click connect. A window of your VNC Server will appear & you be able to control your other computer.
Troubleshooting
I can’t ssh!
Do you even have openssh in your system? If not, download the relevant packages:
$ sudo apt-get install openssh-client openssh-server
The VNC Viewer keeps flickering
Your server computer may be in sleep mode, so you have to unlock it physically. To prevent further occurrence of this, you can disable the sleep feature of the system by changing the system setting accordingly. (Depending on which Linux you are running on)
Sources
- http://www.revsys.com/writings/quicktips/ssh-tunnel.html
- http://askubuntu.com/questions/304017/how-to-set-up-remote-desktop-sharing-through-ssh
- https://www.realvnc.com/products/vnc/documentation/5.0/guides/user/ah1039149.html